
Blog
Tablet Repair Checklist: Protect Your Device in 2026
Use this tablet repair checklist for broken screens to diagnose damage, protect data, and prep for pro repair in Southview. Practical steps from TechBrotherz.
A tablet repair checklist for broken screens is a practical, step-by-step method to assess damage, protect your data, and decide on safe DIY actions versus professional repair. It covers safety, diagnostics, and next steps so Southview users know when to visit a shop like TechBrotherz for a fast, warranty-backed fix.
Key facts
- Published: July 5, 2026
- Last updated: October 2, 2026
- Reading time: 18 min read
- Questions about your own device: Call (403) 273-8324
Last updated
Tablet Repair Checklist: Protect Your Device in 2026
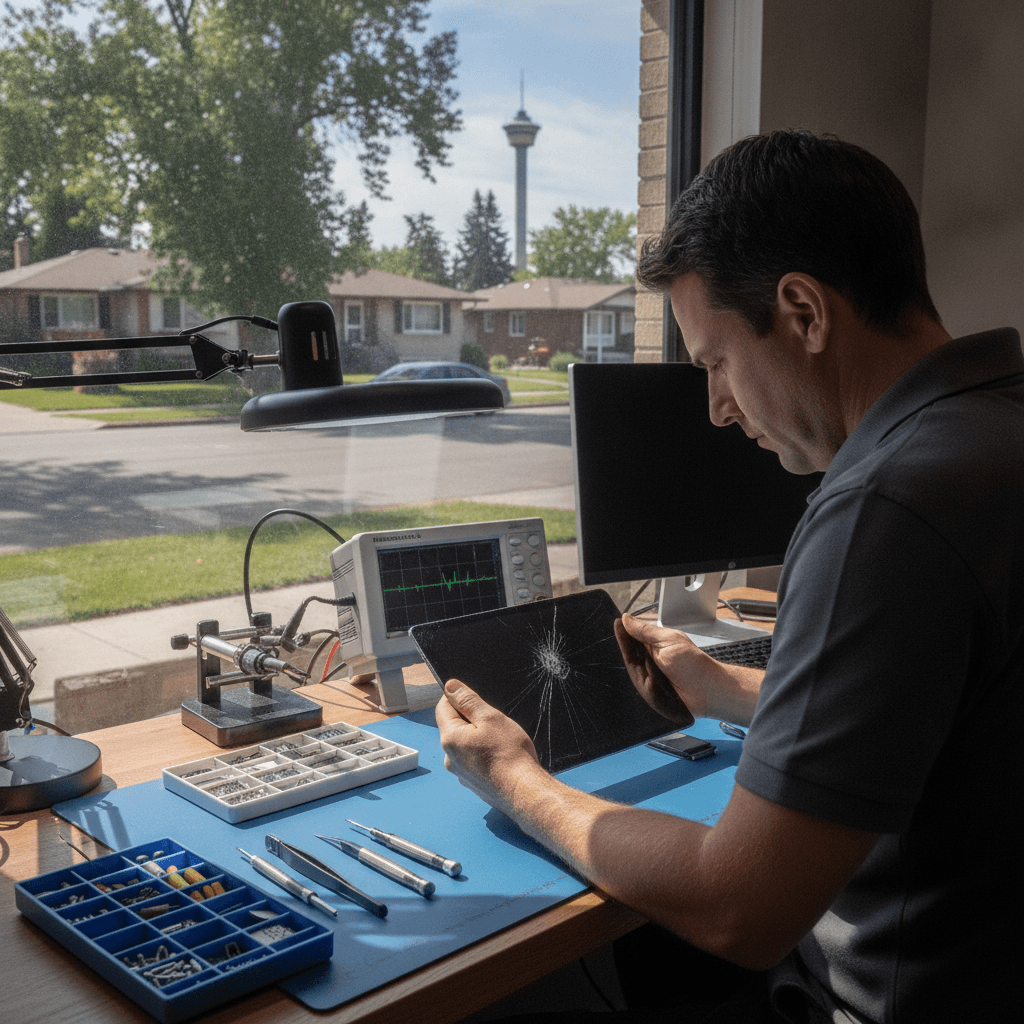
Published by Imran Mohammed at TechBrotherz, the walk-in repair Store at 3317 17 Ave SE in Calgary. July 5, 2026, updated October 2, 2026.
No article on this site is paid for or sponsored. For a quote on your own device, call (403) 273-8324.
By Imran Mohammed · TechBrotherz
Last updated: 2026-07-05
Quick Summary and TOC
Use this checklist to stabilize a cracked tablet, verify whether touch or LCD failed, safeguard your data, and prepare for pro repair. Prioritize safety (glass shards), power down, back up, test inputs, and document symptoms. When in doubt, bring it to a qualified shop for diagnosis and a warranty-covered fix.
Broken tablet screens are stressful. The right plan prevents extra damage and shortens downtime. This overview shows you the full tablet repair checklist for broken screens, then dives into how to assess damage, preserve data, and work with a professional repair team in Calgary.
- What a repair checklist is and why it matters
- Fast safety and data-protection steps
- How to tell glass, digitizer, and LCD failures apart
- Tools and resources you can trust
- When DIY is safe—and when to stop
- What happens at TechBrotherz during intake and repair
- Local tips for Southview around 17 Ave SE
Need immediate help? Book a walk-in visit—no appointment required—on our tablet repair page.
What Is a Tablet Repair Checklist?
A tablet repair checklist is a structured sequence for cracked-screen triage: make it safe, document damage, test functions, protect data, and prepare for pro service. It turns panic into a repeatable plan so you avoid data loss, prevent further breakage, and speed up professional repair.
Think of it as your emergency playbook. A well-built tablet repair checklist for broken screens clarifies what to do in the first 10 minutes and what to leave to a technician. It helps you capture useful details the bench team needs to diagnose quickly.
Screen layers and symptoms
- Cover glass: The outer glass that can chip or shatter.
- Digitizer: The touch layer. If taps don’t register or ghost touches appear, this is suspect.
- LCD/OLED: The display. Lines, ink-like blotches, or black spots point here.
- Frame/adhesive: Bends and gaps let dust or moisture in and complicate reassembly.
Why this structure works
- Lower risk: You stabilize sharp glass and reduce short-circuit risk.
- Faster diagnosis: Clear notes about touch vs. display save time on the bench.
- Data security: A quick backup before the screen worsens can be a lifesaver.
In our experience on 17 Ave SE, the best outcomes come when customers arrive with a brief symptom list and a recent backup. It’s simple prep that pays off in turnaround time.
Why This Checklist Matters
This checklist protects you from three common pitfalls: cuts from shattered glass, avoidable data loss, and misdiagnosing the failure. It structures first aid for your tablet, prevents cascading damage, and helps technicians complete a correct, warranty-backed repair faster.
Here’s the thing: cracked screens often look the same to the eye, but failures differ. A spiderweb crack with perfect touch is a different job than a faint crack with no display. Using a consistent checklist gives you a clearer picture and helps a trusted shop act quickly.
- Safety first: Shattered glass can cut fingers and scratch bags or desks. Stabilize before handling.
- Data resilience: If the display still works, back up right away to protect photos, notes, and apps.
- Correct routing: Touch-only failures point to the digitizer; colored lines suggest LCD damage.
- Warranty downstream: Clear pre-repair notes reduce disputes and support warranty coverage later.
Most tablets are repairable even after significant cracks. The priority is stopping further harm, keeping your data intact, and bringing complete information to the service counter.
How the Checklist Works at a High Level
Stabilize the device, capture symptoms, verify power and touch, protect data, then escalate to pro repair. That’s the flow. Each step prevents additional damage, preserves evidence of the failure, and shortens turnaround when technicians take over.
We map the process to five phases that any owner can follow without tools. If a step feels risky, stop and bring the tablet in. A careful handoff beats a second failure.
- Stabilize: Power down, tape over sharp edges, avoid pressure.
- Assess: Note what’s broken—glass, digitizer, LCD—and anything unusual (flicker, color shift).
- Verify: Try basic inputs: power, volume, taps, swipe-to-unlock if safe.
- Protect: If usable, perform a quick backup and sign out of sensitive apps.
- Escalate: Prepare for a professional intake with your notes and any passcodes you’ll remove at the counter.
When you’re ready, our team handles full diagnostics, parts sourcing, and a 60-day warranty on completed repairs. Learn more on our iPad repair page.
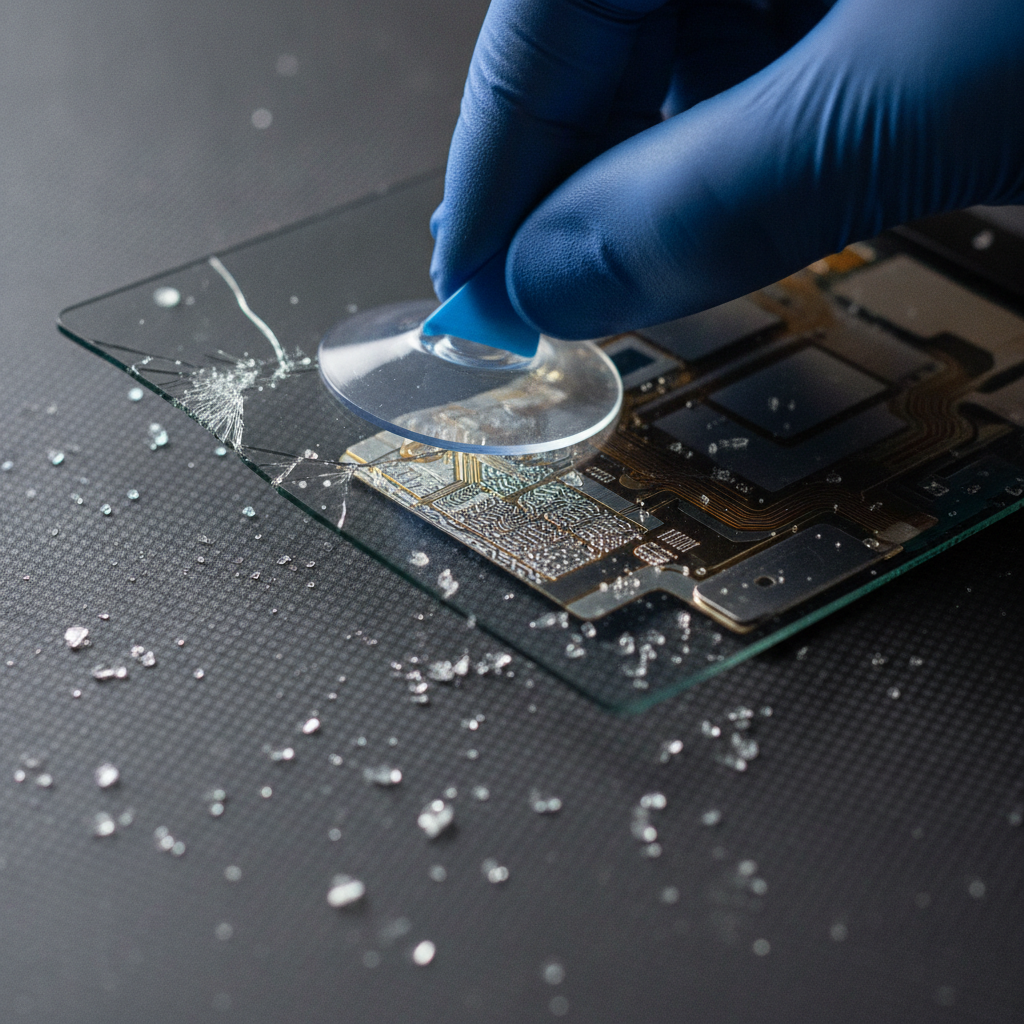
The Tablet Repair Checklist for Broken Screens (Step-by-Step)
Follow these steps: power down, secure glass, inspect screen layers, test buttons and touch, back up, photograph damage, remove accessories, note model/OS, list symptoms, avoid pressure and moisture, then hand off to a pro with your notes and a partial charge.
- Power down safely: If the display is readable, shut down to prevent touch ghosts from triggering actions.
- Secure the glass: Apply clear packing tape or a temporary protector to limit shedding shards.
- Look for LCD signs: Colored lines, black spots, or “ink” blotches indicate panel damage beyond glass.
- Test touch zones: If safe, try gentle taps across corners and center. Note dead regions or ghost touches.
- Verify buttons and ports: Check power, volume, speakers, charging, and headphones for obvious issues.
- Quick backup: If usable, back up photos and documents. Prioritize items that can’t be re-downloaded.
- Photograph the damage: Front, corners, and any lifted glass or frame bends help the intake assessment.
- Remove accessories: Cases, straps, and SD cards can hide damage and slow bench work.
- Note model and OS: Write down exact model (e.g., iPad 9th gen, Galaxy Tab S) and current software version.
- Record symptoms: “Touch OK, lines on right,” or “Black screen, chimes when charging”—clear and short.
- Avoid pressure and moisture: Don’t press cracked glass or expose it to cleaning fluids.
- Hand off to pros: Bring your notes to the service counter. If you’re activation-locked, see our unlocking services for guidance.
If any step feels risky or the screen is leaking “ink,” stop. Cracked edges are sharp and LCD damage can worsen quickly with pressure.
Types of Damage and Repair Approaches
Glass-only cracks with normal touch differ from digitizer failures and LCD damage. Matching symptoms to the right component speeds repair and avoids repeat visits. When frames are bent or seals fail, a full assembly swap and reseal are often the most reliable path.
Symptom-to-component map
- Cracked glass, perfect touch: Likely cover glass-only.
- No touch, picture OK: Digitizer failure likely.
- Lines, colors, black spots: LCD/OLED damage.
- Light bleed at edges: Panel or backlight pressure.
- Screen lifting: Adhesive failure or frame bend.
Approach comparison
| Scenario | Typical Approach | Pros | Trade-offs |
|---|---|---|---|
| Glass cracked, touch OK | Front glass/digitizer assembly replacement | Restores clarity and safety | Requires resealing and dust control |
| Touch dead, picture OK | Digitizer assembly replacement | Fixes input issues | Testing needed for cable/connector health |
| Lines/black spots | LCD/OLED assembly replacement | Restores image quality | More complex reseal and calibration |
| Bent frame/lifted screen | Frame straighten and full assembly swap | Better long-term sealing | Extra care to avoid stress points |
If you use a Samsung tablet, our Samsung repair page outlines brand-specific considerations our team follows during intake and testing.
Best Practices That Prevent Second Damage
Treat a cracked screen like glass first, electronics second. Stabilize edges, avoid pressure, skip liquid cleaners, perform a quick backup, and transport the device flat. These simple habits prevent secondary failures and help technicians complete a durable, warrantied repair.
Safety and handling
- Tape before touching: Clear tape reduces splinters.
- Gloves help: Light nitrile gloves keep glass out of skin.
- No pocket pressure: Backpacks and tight sleeves add stress.
Data and prep
- Backup early: Prioritize irreplaceable files.
- Note your sign-ins: Be ready to authenticate after repair.
- Disable passcodes at the counter: Do this only with the technician present.
Transport to the shop
- Flat, screen-up: A rigid folder or laptop sleeve works well.
- Avoid hot cars: Heat softens adhesives.
- Bring your charger: Helps verify charging and battery behavior.
Clear prep keeps your visit short and focused on results. If you’re bringing multiple devices, we can intake them together on our cell phone repair counter.
Tools and Resources You Can Use
For home triage, you only need tape, a soft cloth, and a case or sleeve for transport. Leave separation tools, heat, and adhesives to trained technicians. Use credible references to learn about symptoms, not for disassembly steps.
Minimal at-home kit
- Clear tape or temporary protector: Stabilizes glass.
- Soft microfiber cloth: Dry dusting only.
- Rigid folder or sleeve: Safe transport.
What to leave to pros
- Heat guns and hot plates: Risk of panel warping.
- Solvents and liquid cleaners: Can wick into seams and damage internals.
- Metal pry tools: Increase crack propagation and board damage.
For a broad look at common tablet symptoms, see these overviews: common tablet issues guide and a second primer on quick tablet fixes. When you’re ready for professional help in Calgary, start at our tablet repair page.
Free walk-in assessment: Stop by TechBrotherz in Calgary for a quick intake. We’ll check screen layers, capture your symptom notes, and outline next steps—all backed by a 60-day repair warranty.
Visit TechBrotherz to confirm today’s hours.

What Happens During Professional Repair at TechBrotherz
We verify your notes, run a functional check, confirm model/parts, and replace the correct assembly under ESD-safe conditions. After reassembly and sealing, we test touch, display, sensors, and ports, then return your device with a 60-day warranty.
Our intake and diagnostics
- Symptom review: We match your notes against a structured test.
- Model verification: Confirms exact part fit for iPad, Galaxy Tab, and others.
- Function check: Touch grid, display uniformity, speaker, mics, Wi‑Fi, cameras.
Repair and quality control
- ESD workstation: Anti-static mat, grounded tools, clean environment.
- Assembly replacement: Correct glass/digitizer/LCD unit and frame prep as needed.
- Post-repair test: Multi-point touch, color, brightness, sensors, and ports.
Have an iPad with a shattered panel? Our iPad repair process covers common models we service and what to expect during handoff and pickup.
Case Studies and Real-World Examples
Real repairs show patterns. Clean symptom notes and quick backups shorten turnaround, while pressure on cracked glass often worsens damage. These brief case snapshots from Calgary illustrate the checklist in action and the value of a careful handoff.
iPad with spiderweb glass, touch OK
A Southview student brought an iPad with spiderweb cracks but fully working touch. Because they followed the checklist—taped edges, backed up, and photographed corners—the intake was quick. The correct assembly swap and reseal restored clarity, and their apps returned intact at sign-in.
Galaxy Tab: vertical lines after a fall
A family near Valleyview Park Viewpoint reported fine cracks plus vertical lines and flicker. That symptom pointed to LCD damage, not just glass. We prepared the correct assembly, completed reseal and post-repair tests, and verified uniform color and touch zones before pickup. For brand-specific work, see our Samsung repair guidance.
Lenovo tablet: black screen, still chimes
Another customer could hear charge chimes but saw a black display. That suggested the device was on but the panel failed. The checklist kept them from pressing the glass or applying heat at home, so internal flex cables were preserved for reassembly.
Kids’ tablet: lifted glass and debris
After a corner hit near Habesha Mall, the glass lifted slightly, letting dust under the panel. The owner photographed the gap and avoided cleaning liquids. That meant less cleanup and a better long-term seal after the assembly replacement.
Local considerations for Southview
- Weekday afternoons around 17 Ave SE are quieter—faster walk-in intakes if you’re coming from Southview.
- Cold snaps can make cracked glass more brittle. Transport the tablet flat and indoors to reduce stress.
- If you’re out running errands near Habesha Mall or close to Valleyview Park Viewpoint, store the device in a rigid sleeve to avoid pressure in a backpack.
Whether it’s iPad, Galaxy Tab, or another brand, good prep is universal: stabilize, document, and hand off.
Troubleshooting: Self-Checks Before Your Visit
Do light, non-invasive checks: confirm it charges, see if the screen lights at all, test for chimes or vibrations, and try a known-good cable. Avoid pressure on the crack and skip heat or liquids. If touch is erratic, power down and bring it in.
- Charging test: Known-good cable and outlet, look for chime or battery icon.
- Wake behavior: Brief press of power—does the screen glow or stay black?
- Sound cues: Notifications or keyboard clicks confirm the OS is alive even if the display isn’t.
- External keyboard/mouse: On some models, this can help navigate for a last-minute backup.
If you successfully initiate a backup, sign out of any sensitive apps you won’t need until pickup. For passcode or account lock issues, our unlocking team can advise on next steps during intake.
Common Mistakes to Avoid
The biggest mistakes are pressing on cracked glass, using liquid cleaners, and attempting heat-based DIY separations. These moves often turn a single-assembly fix into multiple failures. Stabilize the device and let trained technicians handle adhesives and flex cables.
- Pressing the crack: Spreads damage and can rupture LCD layers.
- Liquid cleaning: Wicks into seams and corrodes internals.
- Uncontrolled heat: Warps frames and delaminates displays.
- Metal prying: Cuts cables and gouges boards.
When in doubt, carry the tablet in a rigid sleeve and visit our tablet repair counter for a quick look.
When to Choose Professional Repair Over DIY
Choose pro repair when you see lines, black spots, a bent frame, lifted glass, or any touch failure. These signs indicate assembly or structural issues that require controlled heat, specialized tools, and resealing to restore durability and function.
- LCD artifacts: Lines and blotches require a full assembly swap.
- Frame or seal damage: Reseal quality determines dust and moisture resistance.
- Activation or account locks: Coordinate with a trusted shop for proper sign-out and testing.
We’re a neighborhood team focused on fast, reliable turnarounds and a 60-day warranty on repairs. If you’ve never opened a tablet before, you’ll save time and risk by stopping at professional intake.
How This Checklist Connects to Repair Cost Factors
Clear symptom notes and careful handling influence parts selection, labor time, and reseal work. While pricing varies, organized intake details reduce surprises, streamline parts ordering, and support a reliable, warrantied result.
We often hear about “price first,” but the fastest way to a solid outcome is accurate diagnosis. The checklist helps our team decide between glass/digitizer-only and full display assemblies, and whether any frame preparation is required. That’s the foundation for a durable result without repeat visits.
For brand-specific expectations, explore these resources and services:
- Apple users: see our iPad repair overview.
- Samsung users: review Galaxy tablet repair guidance.
- General walk-ins: visit tablet repair or the broader cell phone repair counter for multi-device needs.
Frequently Asked Questions
These short answers address the most common questions about cracked-screen tablets, data safety, and when to choose professional service. Bring these points—and your symptom notes—to intake for a faster handoff.
What should I do first when my tablet screen cracks?
Power down, tape the crack to contain glass, and avoid pressing on the screen. If the display still works, back up essential files. Photograph the damage and bring the device to a repair shop for a safe assessment.
How can I tell if my LCD is damaged or just the glass?
If you see lines, black spots, or ink-like blotches, the LCD/OLED is likely damaged. If the picture looks normal but touch fails, it’s often the digitizer. Glass-only cracks usually keep both touch and image intact but remain unsafe to use.
Is it safe to keep using a cracked tablet?
It’s risky. Cracked glass can cut skin and may spread under normal pressure. Continued use also increases the chance of dust or moisture getting inside. Stabilize the crack and plan a professional repair as soon as you can.
Will I lose my data during screen repair?
Screen repairs don’t target your storage, but accidents can happen if a device is very damaged. If the display still works, perform a quick backup before your visit. During intake, ask the team to verify your data appears after testing.
Conclusion and Next Steps
Stabilize, document, verify, protect, and hand off—this checklist keeps you safe and sets up a reliable repair. A careful intake with clear notes leads to faster service, fewer surprises, and a stronger reseal backed by a real warranty.
Cracked screens don’t have to derail your week. Use the steps above, then visit TechBrotherz in Calgary for quick intake and a 60-day warranty on completed repairs. Start on our tablet repair page or drop in; we’re ready to help.
Key Takeaways
- Follow the tablet repair checklist for broken screens to reduce risk and save time.
- Lines and blotches point to LCD damage; touch-only failures point to the digitizer.
- Back up early if usable and bring symptom notes to intake.
- Skip heat, liquids, and pressure—let trained technicians handle adhesives and resealing.
- Walk in to TechBrotherz for a fast assessment and a 60-day repair warranty.
Related pages
Rather just ask a person?
Call (403) 273-8324 and describe the problem, or walk in to 3317 17 Ave SE in Calgary. Every repair is quoted free before any work starts.